Set a static IP address on campus
From SEPT Knowledge Base
As part of the debugging and testing on campus, a static IP address is sometimes needed. The following steps are required to set a static IP address in Windows 10/11.
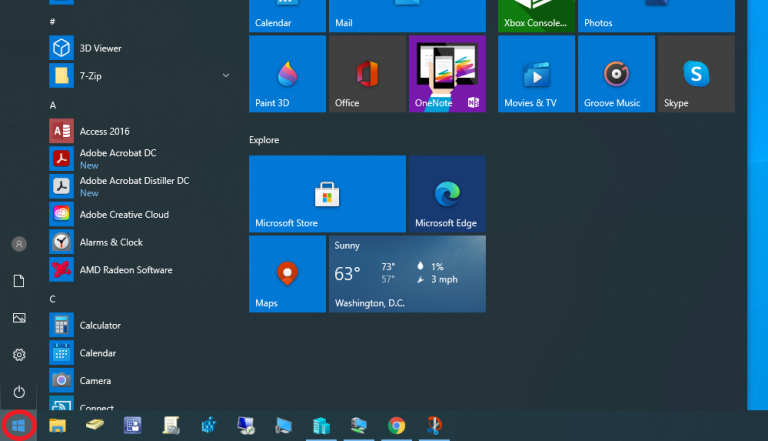
- Click on Start
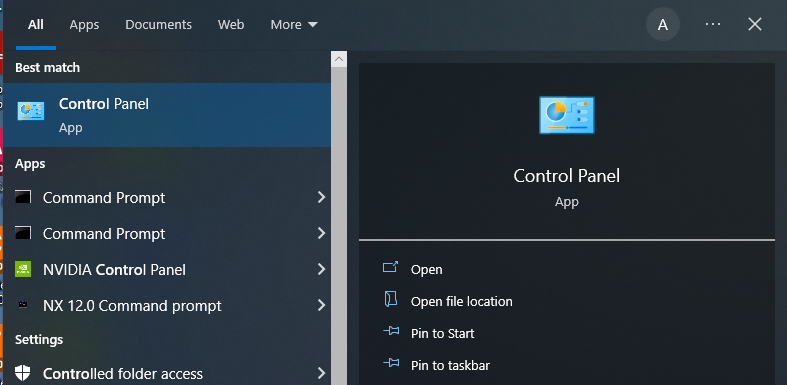
- Search for Control Panel
- Select Network and Internet
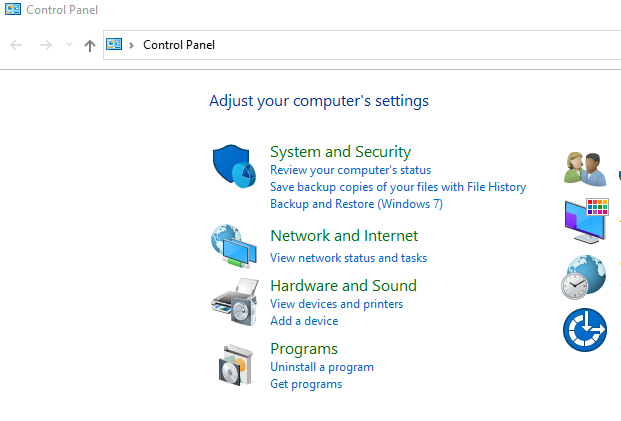
- Select Network and Sharing Center

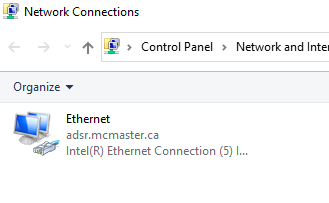
- Select Change adapter Settings
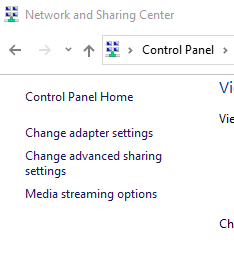
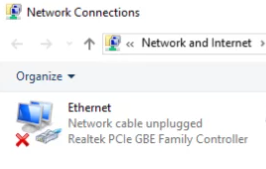
- Select the controller that you want to change and double click on it. Note that this might say unidentified network. It should not say that the network cable is unplugged:
YES NO 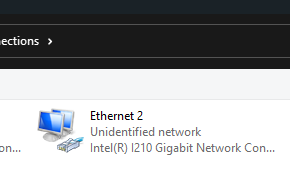
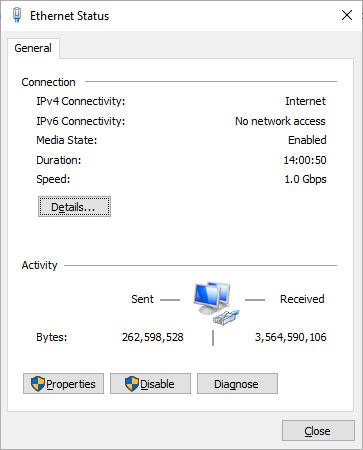
- Select Properties
- Select the TCP/IPv4 connection Item
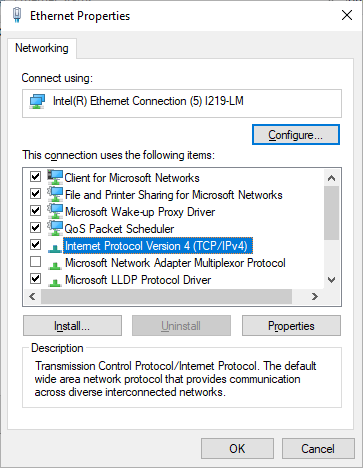
- Change the IP address in accordance with the location/IP provided

- Please note that:
- The Subnets at McMaster is
- 130.113.0.0/16
- 172.26.0.0/12
- All subnets in the
- 130.113 range has the gateway set to: 130.113.xxx.5
- 172.26 range has the gatway set to: 172.26.xxx.1 or 172.26.xxx.5.
This will need to be tested
- The DNS Servers at McMaster is:
- 130.113.128.1
- 130.113.64.1
- 130.113.16.1
- The search domains in order:
- sept.mcmaster.ca
- ads.mcmaster.ca
- uts.mcmaster.ca
- mcmaster.ca
- The Subnets at McMaster is
- Once you click ok, and ok again to close out, wait a few seconds and the network should connect and indicate adsr.mcmaster.ca
