Doc-cam
From SEPT Knowledge Base
ELMO P10 Document Camera
Setup
1. Classroom setup; with a monitor/projector output:
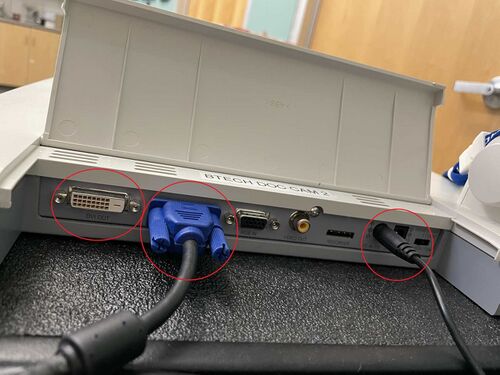
- Connect the power cable to the DC IN slot
- Choose your output type: DVI/VGI
- Use the desired media cable and connect one end to the doc cam and other end to a monitor/projector.
- Turn power on from the doc cam
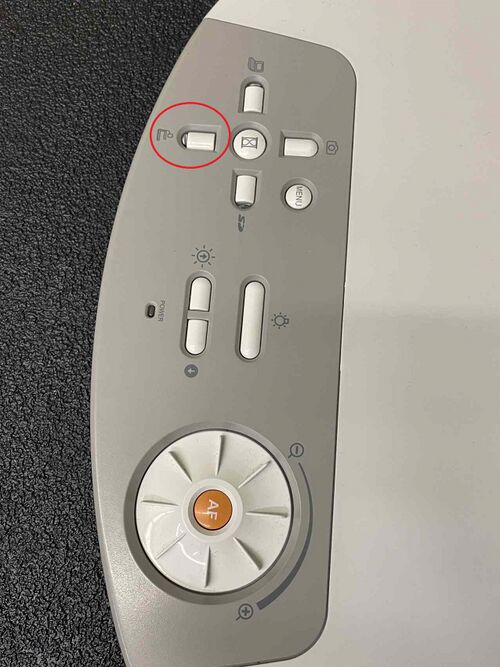
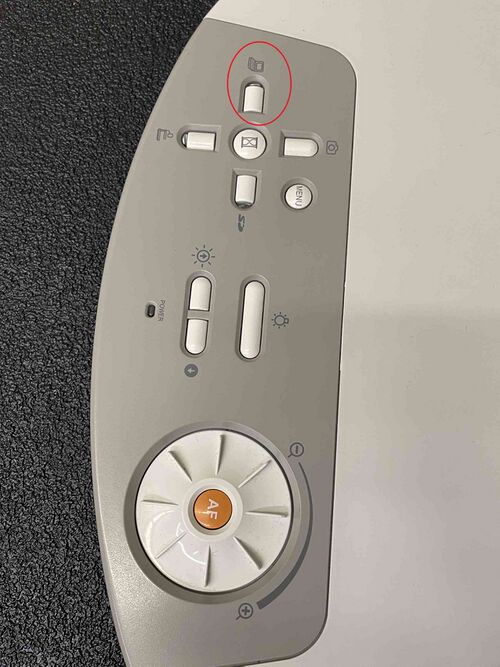
- Set the output mode to Camera from the dial on the front
- You will see output on the monitor/projector
2. Online setup; digitally use/share output:
- Connect the power cable to the DC IN slot
- Choose your output type: DVI/VGI
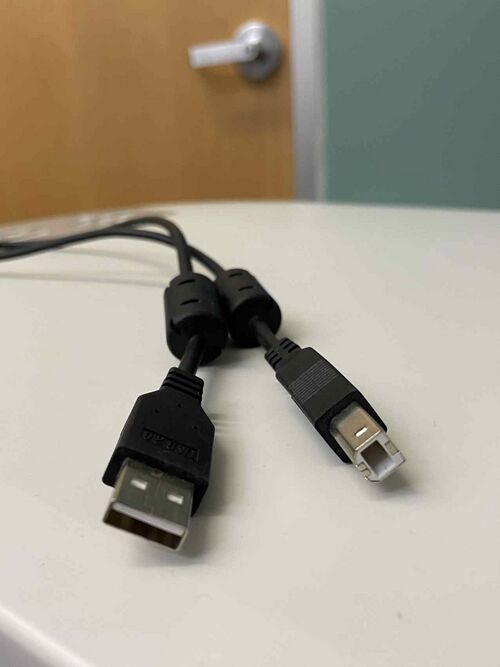
- Get a printer cable
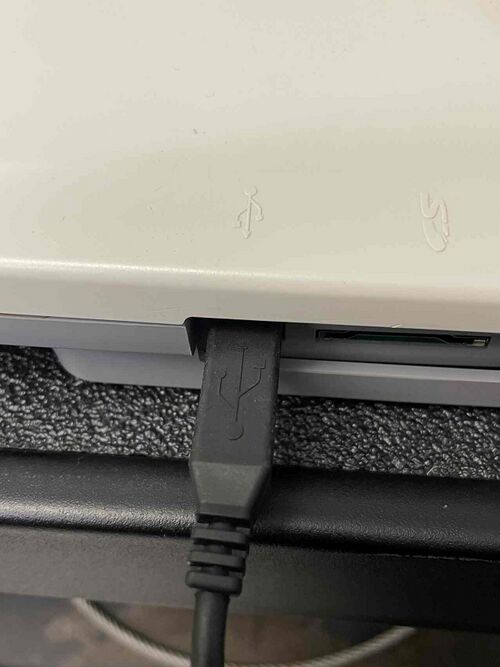
- Connect one end to the doc cam (on the right side) & connect the USB to your PC/Laptop
- Download the legacy Image Mate 3 software for ELMO P10 Doc Cam here
- Set the doc camera output to the Laptop Icon through the front dial
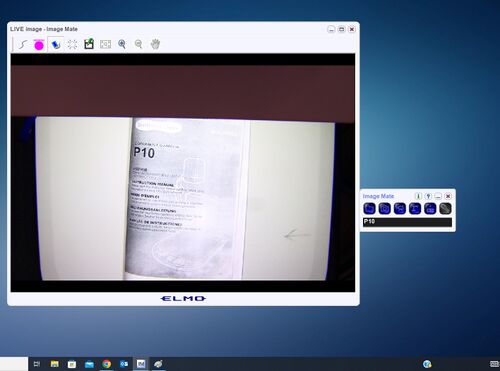
- Open the Image Mate 3 app, and you will now see your Document Camera stream on the software window
- You can now share this stream through any app of choice (Teams, Zoom etc) by sharing your screen or Image Mate 3 window.
