AV Instructions ETB 223
AV Instructions: ETB 223 General guidelines:
General guidelines:
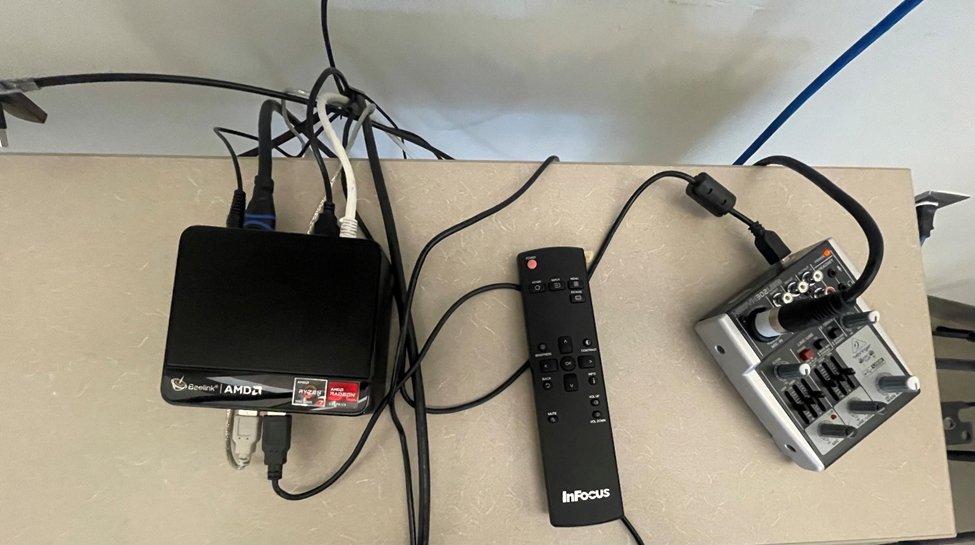
1. Beelink Mini PC (small black box)
2. Behringer Xenyx 302USB Mixer
3. Sennheiser Microphone
4. Display Screen connected to the wall
5. Keyboard and Mouse connected to the Mini PC
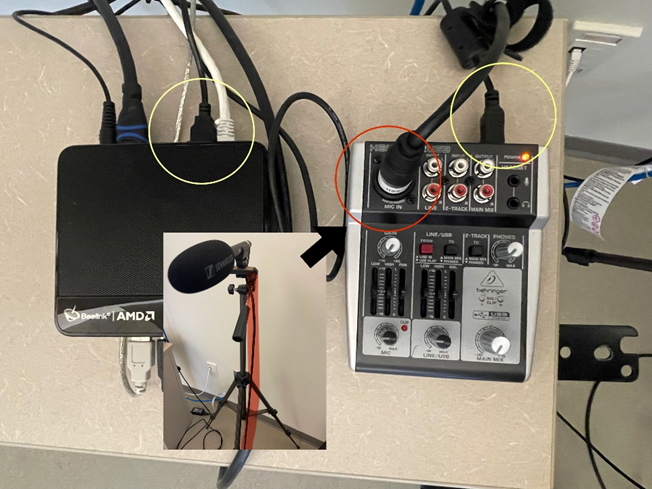
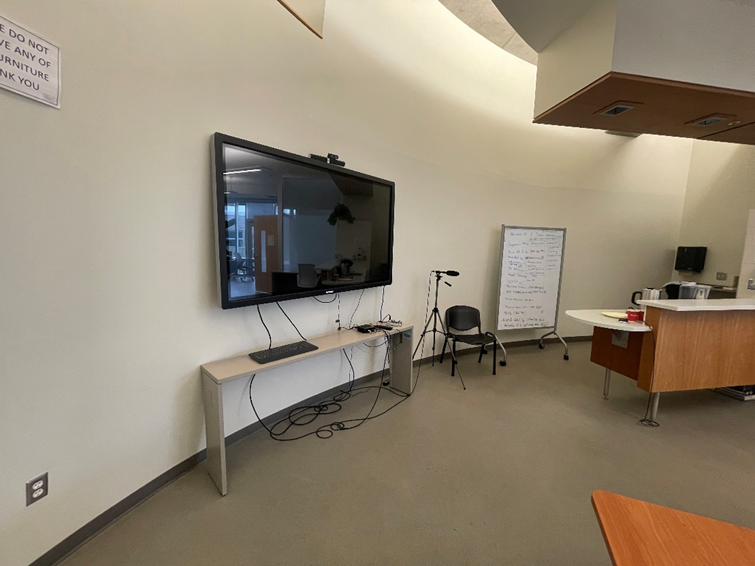
6. Cables used: HDMI (for output of the screen), XLR (microphone to mixer), keyboard and mouse (connected to Mini PC), and power cords Important - On the TV shelf, the XLR microphone set is linked to the Behringer Xenyx 302USB Mixer highlighted in red and the Mixer is attached to the Beelink Mini PC highlighted in yellow:
Important - On the TV shelf, the XLR microphone set is linked to the Behringer Xenyx 302USB Mixer highlighted in red and the Mixer is attached to the Beelink Mini PC highlighted in yellow:
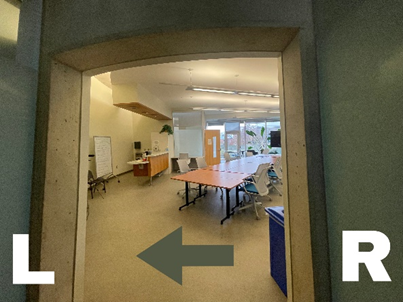
1. The AV system area is to the left of the entrance area (opposite to the window area at the other aide of the room).
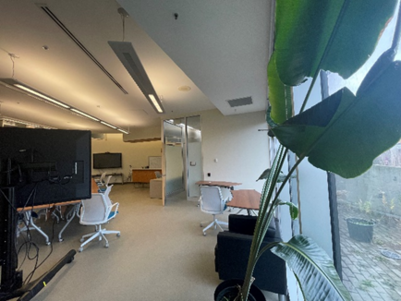
2. This room currently has limited sound capabilities - you may need to bring your own speaker
3. Please return the provided HDMI and audio cables neatly to the desk (do NOT let it drop to the floor)
4. The remote works for both projectors - you need to point the remote directly at the projector of interest (you may need to walk to the center of the room)
5. Please bring your own adapter if your device does not have an HDMI output port as well as computer (if needed).
6. Left-click and right-click refer to the default right-handed mouse configuration - reverse them if applicable
1. Ensure you are logged in
2. Ensure the projector is on
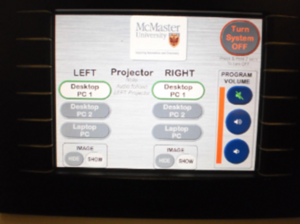
a. Use the touchscreen to turn on the projector
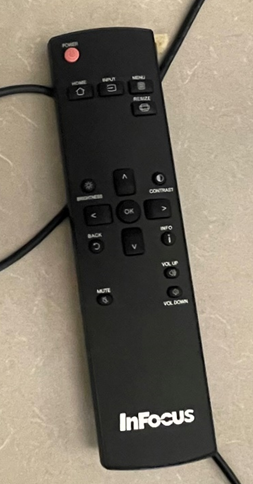
b. Use the remote to manually turn on/off the projector (The remote works for both of the projectors, so you need to point remote directly at the projector of interest - you may need to walk to the center of the room)
3. Ensure that the projector is selecting the correct input
a. Use the screen to change the monitor that the projector is copying
b. Use the remote to select input 5 (DIGITAL LINK) 4. Visuals: Ensure the computer is outputting its image properly
4. Visuals: Ensure the computer is outputting its image properly
a. Ensure the HDMI cable is securely connected between the Mini PC and the display screen.
b. On the display screen, select the correct HDMI input source (usually done via the remote or buttons on the screen) to show the Mini PC output.
Using the provided computer, if you do not hear any sound:
5. Sound:
Ensure the computer/screen’s sound is on and turned up, and selected properly
a. Plug the Sennheiser microphone into the XLR input on the Behringer mixer.
b. Connect the mixer to the Mini PC using the USB cable (this allows the audio to be routed to or from the PC).
c. Use speakers or any audio output device to monitor the sound by connecting them to the "Phones" output on the mixer.
Using your own computer, if you do not see any image on the screen:
6. Ensure your device is properly plugged in
a. Ensure the cable and adapter (if applicable) is(/are) properly plugged in - remove and replug (ensure correct orientation) 7. Configure Audio on the Mini PC and Mixer:
7. Configure Audio on the Mini PC and Mixer:
a. On the Mini PC:
Open Sound Settings (right-click the speaker icon on the taskbar).
Set the Behringer 302USB as the default input device (for the microphone) and output device (for sound playback).
b. Adjust Mixer Settings:
Gain Knob (MIC): Tune it up slightly to ensure the microphone picks up sound without distortion.
Main Mix: Adjust this slider to control the overall audio volume going to the Mini PC or speakers.
Clip Light: Avoid overloading the input; if the red "Clip" light flashes, tune down the gain.
